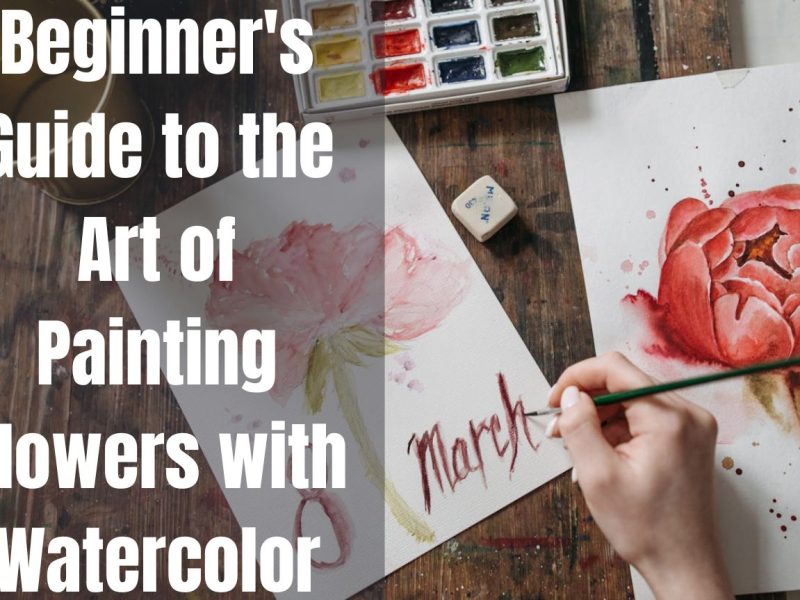
Watercolor painting is a delicate and powerful technique that combines the lightness of paper with the fluidity of pigment. Glazing stands out as a skilled method of achieving depth and luminosity among the techniques that distinguish watercolor. This blog post digs into the art of watercolor glazing, leading both new and experienced artists through the process of adding depth to their work.
What is Watercolor Glazing?
At its essence, watercolor glazing involves applying numerous layers of translucent paint to produce an exquisite interplay of colors and depth. Unlike opaque applications, glazing depends on watercolors’ transparency to build the color without sacrificing the luminous aspect that gives watercolor paintings their distinctive glow.
The Science Behind Glazing
The ability to alter light is what gives glazing its charm. Light passing through the glazed layers reflects off the paper’s white before passing back through the pigments. This voyage allows the colors to mingle visually, giving the observer a sense of depth, contrast, and rich, nuanced colors that cannot be obtained by mixing pigments on a palette.
Materials Required for Effective Glazing.
To start your glazing journey, you will need:
- Watercolor paints: Choose professional-grade paints for their better pigment content and transparency.
- Brushes: range from fine-pointed to medium rounds, suitable for detail and wash work.
- Paper: 100% cotton watercolor paper is preferred for its absorbency and durability.
- Palette: For mixing and storing colors.
- Water containers: can hold both clean and unclean water.
- Use paper towels or sponges: to control wetness.
Preparing for Glazing
Set Up Your Workspace
A well-organized workplace is essential for glazing. Ensure you have enough room for your palette, water bottles, and a flat surface for your paper. Natural light can be useful, but avoid direct sunlight since it might cause the layers to dry quickly.
Selecting the Right Paper and Brushes
The paper and brushes you use can greatly impact how well your glazing turns out. A rough or cold-pressed paper can provide fascinating textures, but a smooth hot-pressed paper produces a streamlined finish. Brushes should be selected based on the desired effect, with larger brushes for washes and smaller, finer brushes for intricate work.
Mixing Your Paints
When combining your paints, aim for a consistency that is neither too thick nor too watery. The ideal consistency allows the paint to flow freely without dominating the underlying layers. Always test your blend on a scrap piece before using it on your artwork.
The Glazing Process
Step-by-Step Glazing Technique
- Glazing demands a meticulous technique to ensure each layer adds to the painting’s depth and brilliance. Here’s how to start:
- Prepare your palette. Combine a small amount of paint and water to create a transparent wash.
- First layer: Apply a little wash of color to the appropriate area and allow it to dry thoroughly.
- For the following layers, apply the second wash once the first layer has dried. Use delicate brush strokes to prevent disrupting the layers underneath.
- Repeat layering, letting each layer dry completely before adding the next.
Layering Colors for Depth
The layers are the key to understanding depth. Each layer should be slightly darker than the preceding one. This slow buildup imparts a feeling of distance and volume. For instance, in a landscape painting, distant parts should have fewer layers than those in the foreground.
Common Mistakes and How to Avoid Them
- Avoiding muddy hues: Muddiness develops when too many colors mix on the paper or when layers do not dry completely. To avoid this, always wait for layers to dry and plan out your color scheme ahead of time.
- Maintaining vibrancy: Excessive layering might fade your painting. Limit the number of layers you use to keep your work vibrant and choose your colors carefully.
Advanced Glazing Techniques
Creating Luminosity and Vibrancy
Luminosity in watercolor glazing is produced by carefully selecting pigments and controlling water. Some pigments are naturally brighter than others; for example, quinacridone and phthalocyanine-based hues have a natural shine.
Glazing using Various Color Palettes
Experimenting with various color palettes might provide unexpected outcomes. A warm palette can create a comfortable ambiance, while a chilly palette might convey tranquility. The goal is to understand the emotional influence of colors and use them to convey the desired atmosphere.
Incorporating Glazing into Various Subjects
Whether you’re painting a still life or a bustling metropolis, glazing can help your subject appear more realistic and deep. To give objects in a still life a three-dimensional appearance, apply glazing. Glazing can help distinguish between the different planes and distances of buildings in a cityscape.
Glazing in Practice
Case Studies: Successful Glazing Examples
Examining the works of well-known watercolor artists might provide useful insights into the glazing technique. Alvaro Castagnet and Joseph Zbukvic are two artists who have mastered the art of glazing, resulting in paintings that glow from within. We may learn how glazing affects the impression of light and atmosphere in their work by examining their color layers.
Exercise: Plan and Execute a Glazed Painting
To put theory into practice, here’s an experiment to help you investigate glazing:
- Select a basic subject, such as a fruit or flower.
- Draw your subject softly on watercolor paper.
- To achieve harmony, select a limited color palette.
- Start with a light wash to establish the lightest tones.
- Build up layers, increasing the color intensity with each one.
- Evaluate after each layer to see whether greater depth is necessary.
Remember to let each layer completely dry before applying the next. This activity will help you understand how glazing influences the depth and mood of your painting.
FAQs About Watercolor Glazing
What is the best approach to creating depth using watercolor glazing?
The greatest technique to generate depth is carefully arranging your layers, starting with light washes and progressing to darker tones. This conveys a feeling of distance and form.
Can you glaze with any watercolor paint?
While you can glaze with any watercolor paint, transparent or semi-transparent paints work best because they enable light to travel through and reflect off the paper.
How long should I wait between layers?
Before applying the next layer, ensure the preceding one is dried. Depending on the paint’s thickness and humidity level, this can take a few minutes to several hours.
The Bottom Line
Once mastered, watercolor glazing is a powerful technique that can convert a flat painting into a dynamic work full of life and depth. It takes patience, practice, and a deliberate approach to layering. By following the instructions and exercises offered, you’ll be well on your way to creating the compelling effects of depth with watercolor glazing.