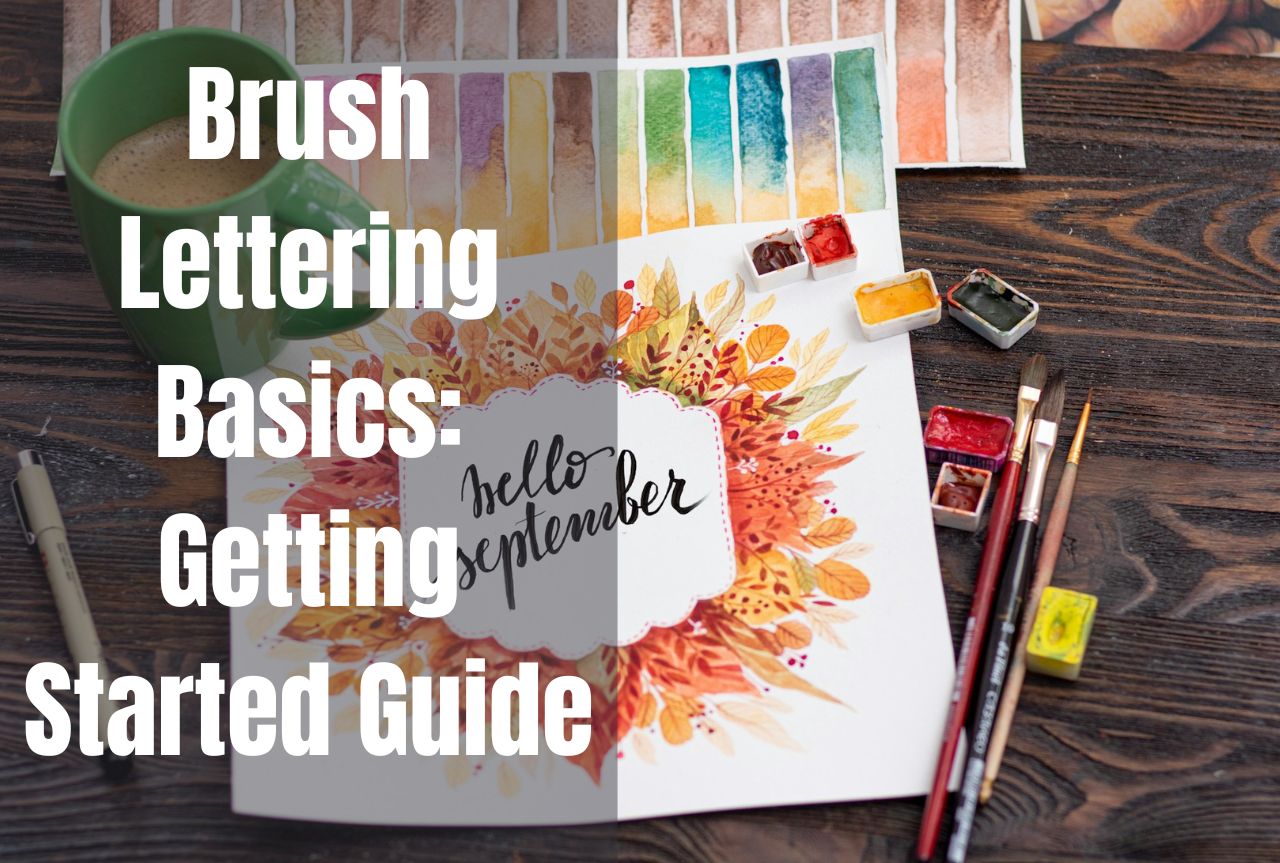
Brush lettering is the art of creating letterforms using a brush pen or calligraphic marker. Unlike traditional calligraphy, which follows strict rules and strokes, brush lettering allows for a more relaxed and expressive approach. This versatile technique can be applied to a wide range of projects, from DIY home decor to stationery designs and digital artwork.
The rise of brush lettering can be attributed to its accessibility and the growing desire for handmade, personalized creations in the digital age. It offers a refreshing escape from the uniformity of computer fonts, allowing artists to infuse their unique personalities into every stroke.
Tools and Supplies
To begin your brush lettering adventure, you’ll need to gather a few essential tools and supplies. Let’s explore the key components that will set you on the path to success.
Brush Pens
Brush pens are the backbone of brush lettering. These specialized pens feature a flexible, brush-like tip that allows for varying stroke widths by adjusting the pressure applied. There are several types of brush pens available, including:
- Felt tip brush pens: These pens have a firm, yet flexible felt tip that mimics the behavior of a traditional brush. They are excellent for beginners and offer a consistent ink flow.
- Synthetic bristle brush pens: As the name suggests, these pens have a tip made of synthetic bristles, providing a more natural brush-like experience. They are ideal for advanced lettering techniques and offer greater control over stroke variation.
Some recommended brands for beginners include Tombow Dual Brush Pens, Crayola Brush Pens, and Pentel Touch Brush Pens. When selecting brush pens, consider factors such as tip size, ink flow, and color options to suit your preferences.
Paper and Surfaces
While you can practice brush lettering on regular printer paper, investing in high-quality marker or tracing paper will significantly enhance your experience. These papers are designed to handle the ink flow from brush pens without excessive bleeding or feathering.
Additionally, explore different surfaces beyond paper, such as chalkboards, wood, glass, or canvas. These unconventional surfaces can add depth and texture to your lettering pieces, creating unique and eye-catching compositions.
Before lettering on any surface, ensure it is properly prepared. Clean and smooth surfaces will prevent ink from spreading unevenly and allow for crisp, consistent strokes.
Additional Supplies
While brush pens and paper are the essential tools, a few additional supplies can elevate your lettering experience:
- Pencils and erasers: Sketching your lettering layout beforehand can save time and prevent mistakes.
- Rulers and guides: These tools help maintain consistent spacing and alignment, especially for larger projects.
- Ink refills or cartridges: Have a backup supply of ink to ensure uninterrupted lettering sessions.
Basic Strokes and Letterforms
Mastering basic strokes and letterforms is the foundation of brush lettering. Understanding how to control the brush pen and break down letterforms into their components will set you on the path to creating beautiful lettering pieces.
Understanding Brush Pen Mechanics
The key to achieving stunning brush lettering lies in your ability to control the pressure applied to the brush pen. By varying the pressure, you can create thick and thin strokes, adding depth and dimension to your letterforms.
Start by practicing upstrokes (thin to thick) and downstrokes (thick to thin). Pay attention to the ink flow and learn to control it to prevent blotches or inconsistent strokes.
Mastering Basic Strokes
Once you’ve grasped the mechanics of the brush pen, focus on practicing the following basic strokes:
- Upstrokes and downstrokes
- Curved strokes and loops
- Stroke drills and exercises
Consistent practice of these strokes will build muscle memory and confidence in your brush control.
Forming Letterforms
With a solid understanding of basic strokes, you can begin breaking down letterforms into their individual components. Analyze the anatomy of each letter, identifying the strokes required to construct it.
Start with uppercase and lowercase letters, practicing them repeatedly until you can create consistent and balanced forms. As you progress, explore different letter styles and variations to develop your unique lettering style.
Developing Your Lettering Style
While mastering the basics is essential, the true joy of brush lettering lies in discovering and cultivating your unique style. This section will guide you through the process of exploring different lettering styles and techniques to help you find your creative voice.
Exploring Different Lettering Styles
Brush lettering encompasses a wide range of styles, from traditional calligraphic scripts to modern, playful designs. Some popular styles include:
- Script styles (cursive, modern calligraphy, etc.)
- Brush lettering for print and display purposes
- Whimsical or illustrative lettering
Immerse yourself in various lettering styles by studying examples, experimenting, and finding inspiration from artists you admire. This exploration will help you develop a distinctive style that resonates with your artistic vision.
Practice Tips and Techniques
Consistent practice is crucial for refining your lettering skills and developing muscle memory. Incorporate the following tips and techniques into your routine:
- Warm-up exercises and drills: Start each lettering session with simple stroke drills to limber up your hand and focus your mind.
- Consistency: Maintain a regular practice schedule, even if it’s just for a short period each day.
- Embracing imperfections: Lettering is an art form, and imperfections are part of its charm. Learn to embrace the unique character of your strokes rather than striving for perfection.
Remember, the more you practice, the more confident and fluid your lettering will become.
Composition and Layout
Once you’ve mastered the basics of brush lettering, it’s time to explore composition and layout techniques to elevate your lettering pieces to a professional level.
Planning Your Lettering Pieces
Before putting brush to paper, take the time to plan your lettering composition. Sketching your layout and visualizing the final piece can help you avoid common pitfalls and ensure a cohesive design.
Consider factors such as the overall theme, color scheme, and whether you want to incorporate illustrations or embellishments. This planning stage will serve as a roadmap for your lettering journey.
Spacing, Kerning, and Alignment
Proper spacing, kerning (the space between individual letters), and alignment are essential for creating visually appealing and balanced lettering pieces. Here are some tips to keep in mind:
- Spacing: Maintain consistent spacing between words and letters to ensure readability and flow.
- Kerning: Adjust the space between certain letter combinations to improve overall cohesion.
- Alignment: Ensure all letters sit neatly on a consistent baseline for a polished, professional look.
Paying attention to these details will elevate your lettering from amateur to professional-level quality.
Project Ideas and Applications
Brush lettering is a versatile art form with numerous applications across various industries and creative pursuits. Here are some inspiring project ideas to fuel your creativity:
DIY and Home Decor Projects
- Personalized wall art and canvas lettering
- Lettering on glass, wood, and other surfaces
- Seasonal and holiday-themed projects (e.g., Christmas ornaments, Easter eggs)
Stationery and Gifting
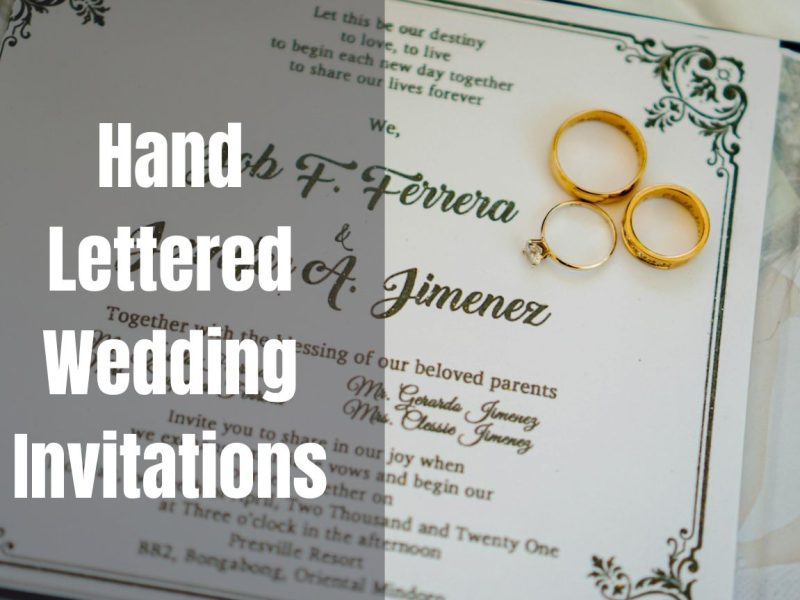
- Hand-lettered greeting cards and invitations
- Calligraphic envelope addressing
- Gift tags and packaging ideas
Digital Applications
- Digitizing lettering for logos and branding
- Creating social media graphics and graphics
- Lettering for web and print design (e.g., book covers, posters, advertisements)
The possibilities are endless, and with dedication and practice, you can leverage brush lettering to add a personal touch to any project.
Additional Resources and Further Learning
While this guide provides a solid foundation, the journey of brush lettering is one of continuous learning and growth. Explore the following resources to deepen your knowledge and expand your skills:
- Recommended books and online tutorials: “The Art of Brush Lettering” by Kelly Klapstein, “Brush Lettering: An Instructional Manual” by Maureen Fallon, and online platforms like SkillShare and Creative Live offer comprehensive courses.
- Brush lettering communities and workshops: Join online communities and attend local workshops to connect with fellow artists, share ideas, and receive feedback.
- Continuing to practice and expand skills: Regularly challenge yourself with new styles, techniques, and projects to prevent stagnation and keep your lettering skills fresh.
Conclusion
Brush lettering is a captivating art form that combines creativity, expression, and skill. By mastering the fundamentals outlined in this guide, you’ve taken the first step on a rewarding journey. Remember, practice is key, and embracing your unique style is what will truly set your lettering apart.
As you continue to hone your skills, don’t be afraid to experiment, make mistakes, and find inspiration in the world around you. Brush lettering is an ever-evolving art form, and your creativity is the driving force behind its evolution.
So, pick up your brush pen, let your strokes dance across the page, and embark on this exhilarating creative adventure. The possibilities are limitless when you unlock the power of brush lettering.


